Summary
Making your research truly reproducible and reusable
In this section, we will wrap up the content covered during this course and point you towards further learning.
Open introduction presentation ↗
Presentation content
What is Research Software Development?
- Creating tools, scripts, and applications that enable scientific discovery through data analysis, modeling, and simulation.
- Writing programs to process experimental data, automate repetitive tasks, implement mathematical models, and generate visualizations for scientific publications.
- Everything from simple data cleaning scripts in Python/R to complex simulation software, statistical analysis pipelines, workflows on High Performance Computing (HPC) platforms, and specialized scientific computing applications.
- The goal is producing reliable, reproducible computational workflows that support research while enabling other scientists to verify and build upon the work.
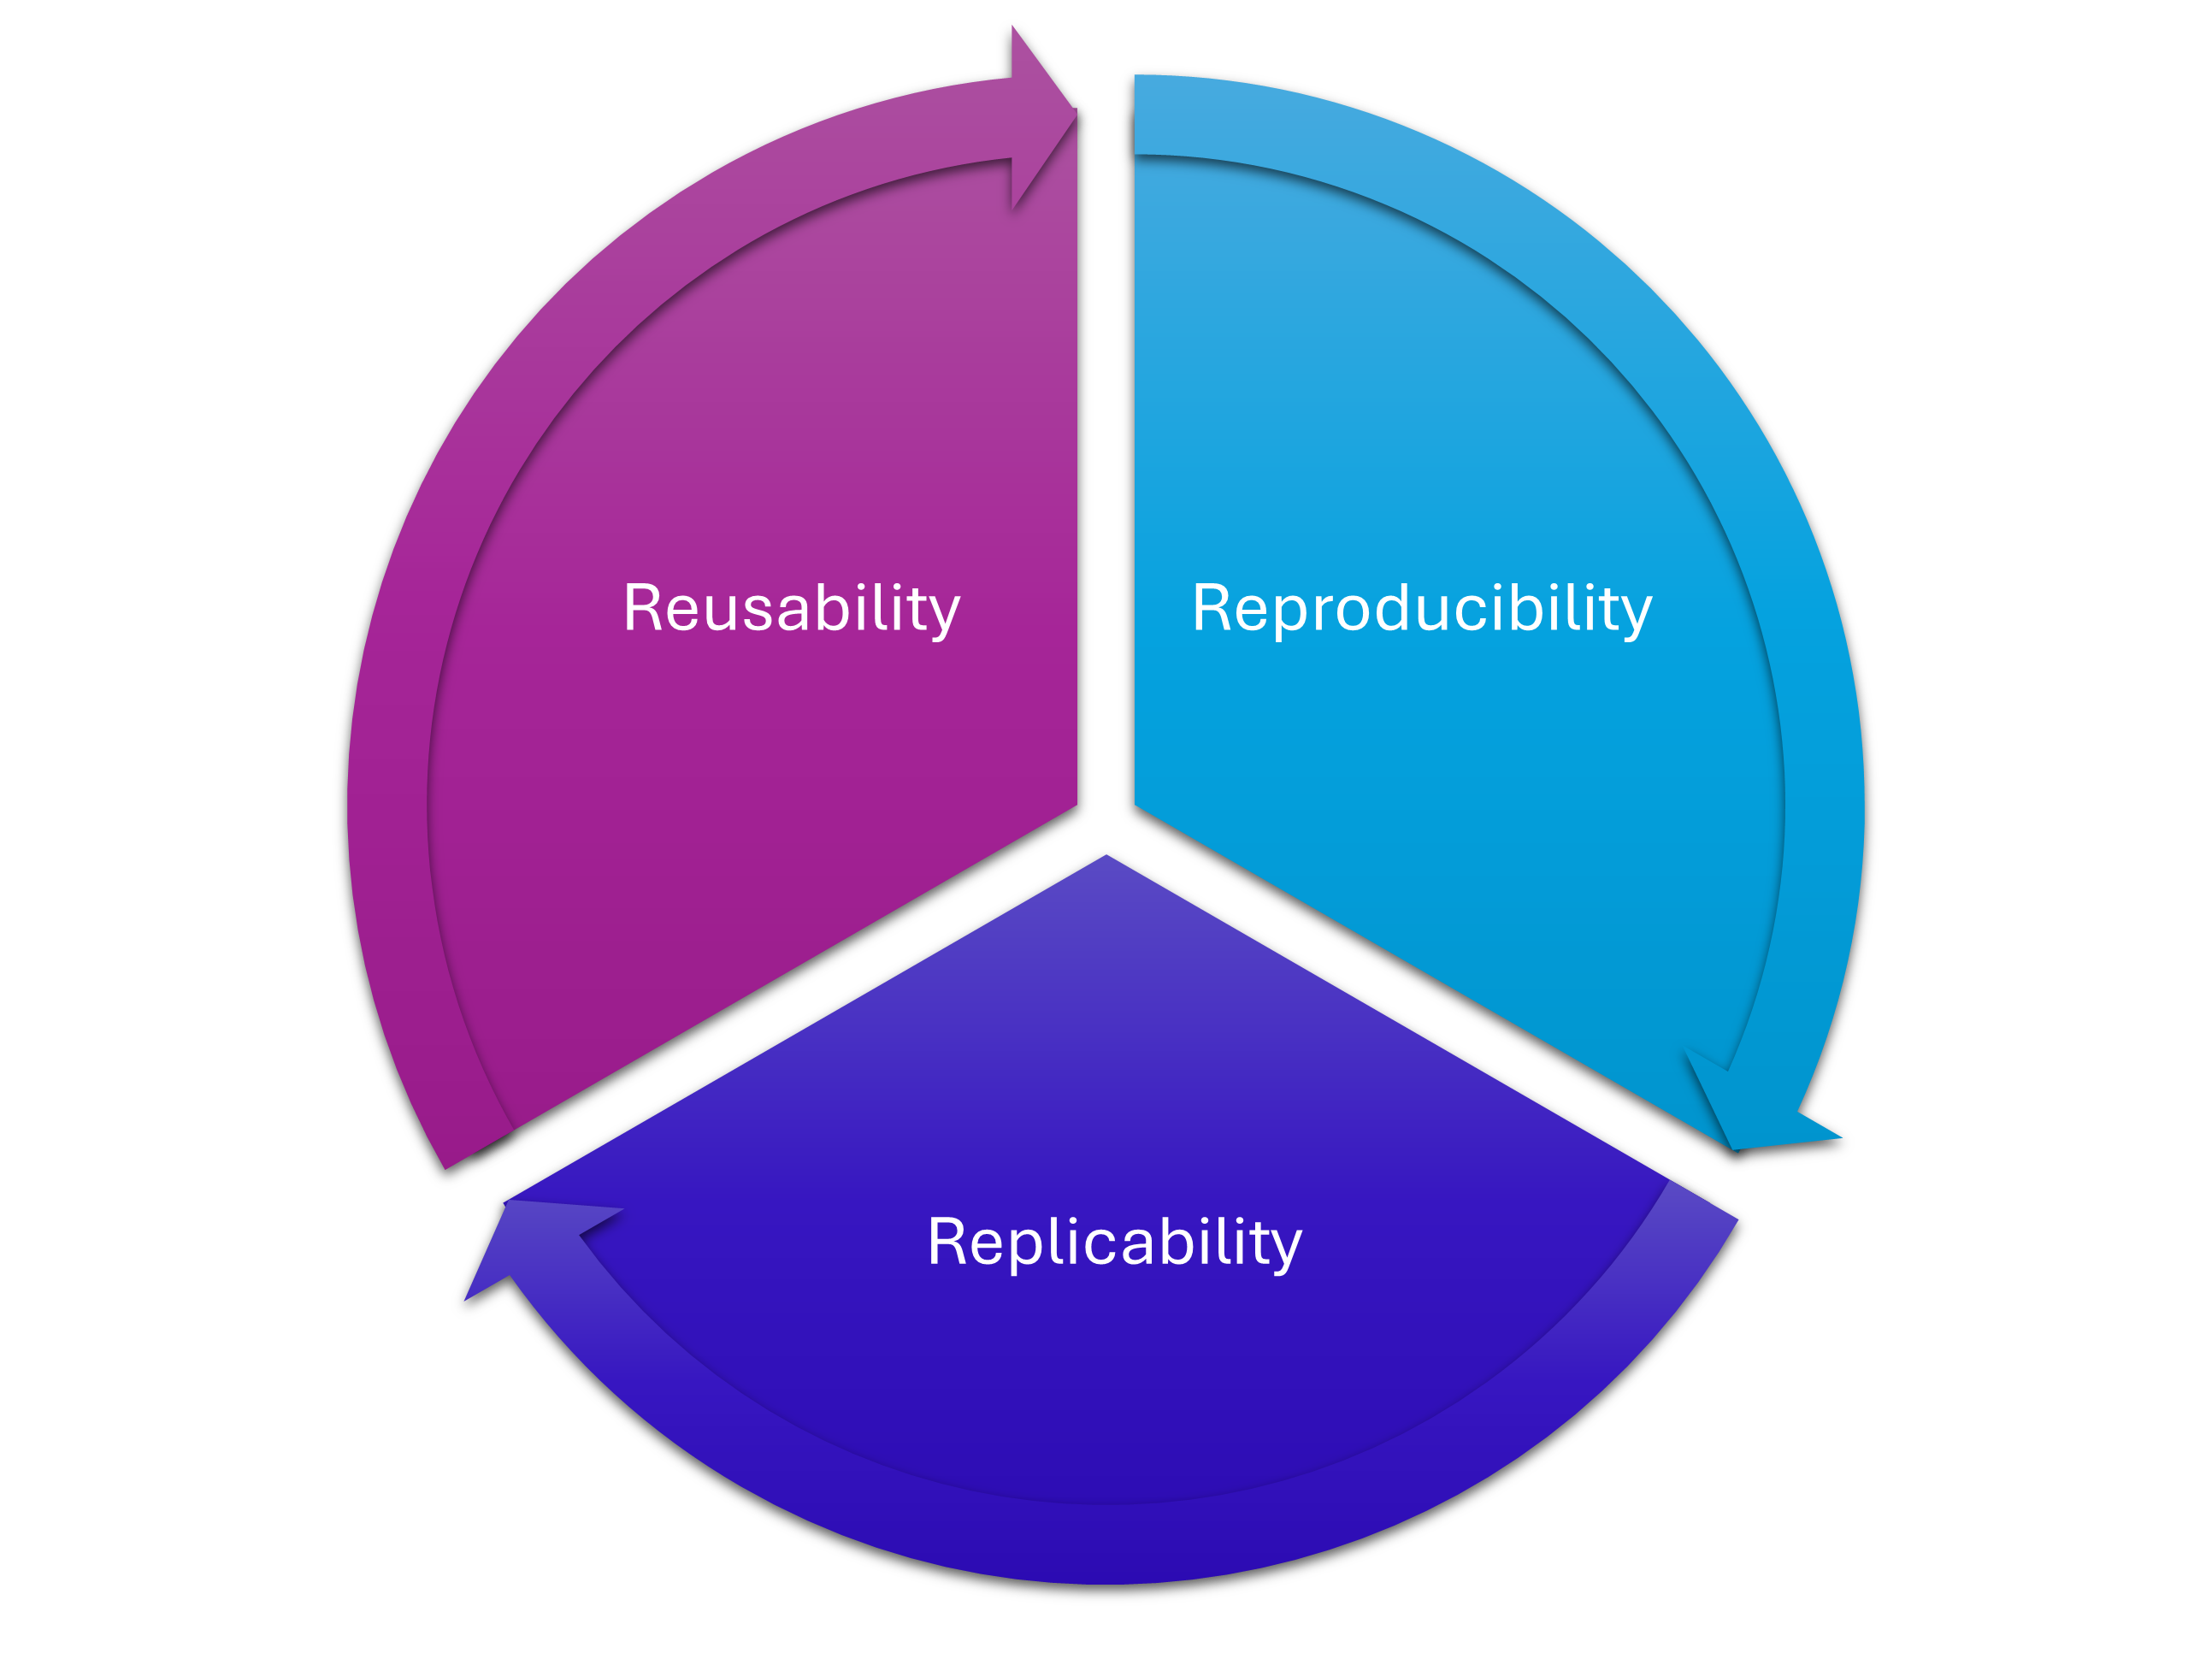
3 Rs of Research Software
Organising your project
- Makes it less likely that moving a file will break everything (because absolute filepaths have changed): reproducibility
- Makes it easier for others (and yourself in the future) to understand what you were doing, what your logic was: replicability
- Makes it easier to separate out your core code into a package, and makes it easier to move the project to a different machine or platform: reusability
Prevents future panic of not being able to find source files for results, or not being able to reproduce certain figures.
Version control in a public repository
- Captures exactly what you did and when: reproducibility
- Allows other to download your code, re-run it, compare it to their methods, or modify and extend it: replicability and reusability
Ensures your contributions (and the contributions of collaborators) are recorded: this can be very useful when it comes to submitting your thesis and demonstrating what is your work and where collaborators supported!
Dependencies
- Captures the exact environment you worked on (with the
conda env exportcommand): reproducibility - Allows for a flexible environment to be shared: reusability
Testing
- Makes your code more trustworthy when ported to other systems: reusable
- Allows others to see the logic behind the code, and provides a good measure for comparison to other methods: replicability
Releases
- Creates a secure, stable, unchanging archive of your code at a certain point, that you can reference with a DOI: reproducibility
- Makes it easy for people to install a specific version of your code, that they can reference with a DOI: reusability
But what about old, messy code?
We have looked at new projects
- Oftentimes need to work with legacy code
- Code that we created a while ago, that’s a mess
- A research group’s sprawling codebase… that’s a mess
- You want to reproduce someone else’s work but their code is… you guessed it, a mess!
A daunting task
It can often seem nearly impossible to implement any of the tools we have discussed on a messy codebase.
We use the DeReLiCT acronym to patch up falling-down code:
- Dependencies
- Repository
- License
- Citation
- Testing
Dependencies
If there’s no sign of a requirements.txt, a environment.yml, or anything:
Scan through the Python scripts in the project and start to create a list of all dependencies manually
Use a little Bash script to find dependencies:
grep -r "^import\|^from" . --include="*.py" | sort | uniqInstall a Python package such as
isortin your environment and then run:isort --diff --check-only /path/to/projectInstall a Python package such as
pipreqsin your environment and then run:pipreqs /path/to/project
Dependencies
If you have been using a Conda environment, but have no record of it (no reusable environment.yml):
Create an exact export to record the state of the project now:
conda env export > env-record.ymlCreate a reusable Conda environment file using the snippet below.
### Extract installed pip packages
pip_packages=$(conda env export | grep -A9999 ".*- pip:" | grep -v "^prefix: " | cut -f1 -d"=")

### Export conda environment without builds, and append pip packages
conda env export --from-history | grep -v "^prefix: " > new-environment.yml
echo "$pip_packages" >> new-environment.yml
This allows us to export all the Conda (and any pip) dependencies, without pinned versions (unless they were intentionally pinned on creation of the environment). This code snippet has been edited based on an answer posted by the GitHub user ekiwi111.
Repository
- Whatever has happened up to this point, implementing version control will only make life easier going forward.
- Before you start:
- Ensure there’s no sensitive data in the folder structure.
- Ensure all colaborators are happy with this, and negotiate whether it needs to remain a local git repo, a private GitHub repo, or if you can share it publicly.
- Check any notebooks for cached output that is sensitive, and ensure no data is hard-coded or reverse-engineerable.
- From the top-level folder (so in the folder you want to become the repository), run
git init - Create a remote repository on GitHub with the same name, and follow the instructions for adding a local repository.
- Begin adding files to the repo using
git add FILENAME
Repository
- You should use the release and DOI minting/archiving options available to you whenever you publish results based on the code.
- When working with a messy, legacy codebase, make use of git branches when rearranging files/folders, in case something breaks:
- Always keep the
mainbranch working correctly - Only merge branches if there are no errors
- Always keep the
- If the code is scattered across Python files and notebooks (with no modules or imports being used), don’t worry!
- Create a folder at the top level of the project directory called
src/, and inside this put the folder<PACKAGE_NAME>/. - Create an empty file:
src/<PACKAGE_NAME>/__init__.py - Create a basic
pyproject.tomlfile using the template provided in the course notes. - You can slowly start moving tidy functions into this package, and importing them locally
- Create a folder at the top level of the project directory called
License
- Adding a license to code makes it possible to reuse.
- You will need to check with supervisors, funders, and collaborators before you decide on a license.
- Use ChooseALicense.com/ to help you pick, and read more about Python licensing here is another good source
Citation
- Add a CITATION.cff file to your repository.
- Update the README in your repository to explain how you wish to be cited.
- This will ensure the metadata of your Zenodo release is accurate.
Testing
It is worthwhile implementing testing even if you can’t test everything!
- Tackle one of the Python project files at a time:
- Create a
test_<PYTHON_-_FILE_-N_AME>.pyfor the file you are tackling - If the code is already modular, you can start to move it into the package folder structure and then create functions called
test_<FUNCTION_NAME> - If the code isn’t modular and formed in small functions, you can start to refactor it using Test Driven Development!
- Create a
Testing
Remember the test blueprint:
def test_example(self):
    '''Test for the example function'''

## # Arrange
    test_variable_1 = 0
    test_variable_2 = 1
    expected_output = 7

## # Act
    output = your_function(test_variable_1, test_variable_2)

## # Assert
    assert output == expected_output

## # No cleanup needed
Summary
- Work incrementally, bit by bit
- Half-done is better than not done at all
- Anything worth doing well, is worth doing poorly at first
Moving forward
- Following on from this course you might want to find out how you take your Python package and upload it to PyPI (so you can do a
pip install <PACKAGE_NAMEwithout requiring the GitHub link)- This packaging workflow is a GitHub action that will package your code on release (given that you have a
pyproject.tomlfile in the repository)
- This packaging workflow is a GitHub action that will package your code on release (given that you have a
- You might want to read more about issues with Jupyter Notebooks and reproducibility:
- Sheeba Samuel, Daniel Mietchen, Computational reproducibility of Jupyter notebooks from biomedical publications, GigaScience, Volume 13, 2024, giad113, https://doi.org/10.1093/gigascience/giad113
- Jiawei Wang, Tzu-yang Kuo, Li Li, Andreas Zeller, Assessing and restoring reproducibility of Jupyter notebooks, ASE ’20: Proceedings of the 35th IEEE/ACM International Conference on Automated Software Engineering, 2021, https://doi.org/10.1145/3324884.3416585
- You might want to think about containerisation for reproducible research environments.