Creating releases and automated workflows
Making your research truly reproducible and reusable
In this section, we will explore how to create a tagged release for your code, how to mint a DOI for this release, and how to archive and reference your code appropriately.
Open introduction presentation ↗
Presentation content
Contents
- What are GitHub Releases?
- Semantic Versioning Basics
- Creating Your First Release
- Zenodo Integration
- Minting DOIs for Your Code
- Best Practices & Workflow
Workflows on GitHub
- In the previous practical, we used GitHub actions to run a test suite
- Let’s look at other options available to us via GitHub
- Git allows us to “tag” certain versions with a version number: this allows us to refer to a certain version more easily than using a commit hash
Brief aside: licenses
Why add a license to your repository?
Without a license, your code is legally unusable by others:
- No license = All rights reserved
- Others cannot legally use, modify, or distribute
- Limits reproducibility and collaboration
- Reduces impact and citations
- Creates legal uncertainty
A license gives explicit permission for others to use your work
Legal Reality Check
“But it’s on GitHub, so it’s open, right?”
❌ Wrong! Public ≠ Open Source
- Public repositories are visible but not legally usable
- Copyright law protects your work automatically
- Without explicit permission (license), others risk legal issues
- Academic institutions and companies often prohibit using unlicensed code
Benefits of Open Source Licensing
For Research Impact
- Reproducibility: Others can run and verify your results
- Collaboration: Researchers can build on your work
- Citations: More usage = more citations
- Transparency: Open science best practices
For Your Career
- Visibility: Showcases your technical skills
- Community: Join the open source ecosystem
- Learning: Others improve your code through contributions
Common Licenses for Research
| License | Best For | Key Features |
|---|---|---|
| MIT | Maximum adoption | Simple, permissive, commercial use OK |
| Apache 2.0 | Patent protection | Permissive + patent grant |
| GPL v3 | Ensuring openness | Copyleft - derivatives must be open |
| BSD 3-Clause | Academic projects | Permissive, no endorsement clause |
| Creative Commons | Data/documentation | Not for software code |
Choosing the Right License
Ask Yourself:
- Do you want derivatives to remain open?
- Yes → GPL v3 (copyleft)
- No → MIT or Apache 2.0 (permissive)
- Do you care about patent protection?
- Yes → Apache 2.0
- No → MIT is simpler
- Any institutional, funder, publisher requirements?
- Check with your university/funding agency
- Talk to your library, your University’s legal team, your RSEs
When in doubt: MIT is the most popular and simplest
How to Add a License
Step 1: Choose Your License
- Use choosealicense.com for guidance
- Consider your research goals and requirements
Step 2: Add LICENSE File
your-repository/
├── LICENSE          # Full license text
├── README.md
└── src/
Step 3: Update README
Add a section like this to your README file:
#### License

This project is licensed under the MIT License -
see the [LICENSE](LICENSE) file for details.
GitHub Makes It Easy
When creating a repository:
- Check “Add a license”
- Choose from popular options
- GitHub adds the LICENSE file automatically
For existing repositories:
- Click “Create new file”
- Name it “LICENSE”
- GitHub offers license templates
Best Practices
Do:
- Add license early in your project
- Be consistent across all your repositories
- Include copyright notice with your name/institution
- Check funding requirements before choosing
Don’t:
- Leave repositories unlicensed
- Mix incompatible licenses in one project
- Use Creative Commons for software code
- Ignore your institution’s IP policies
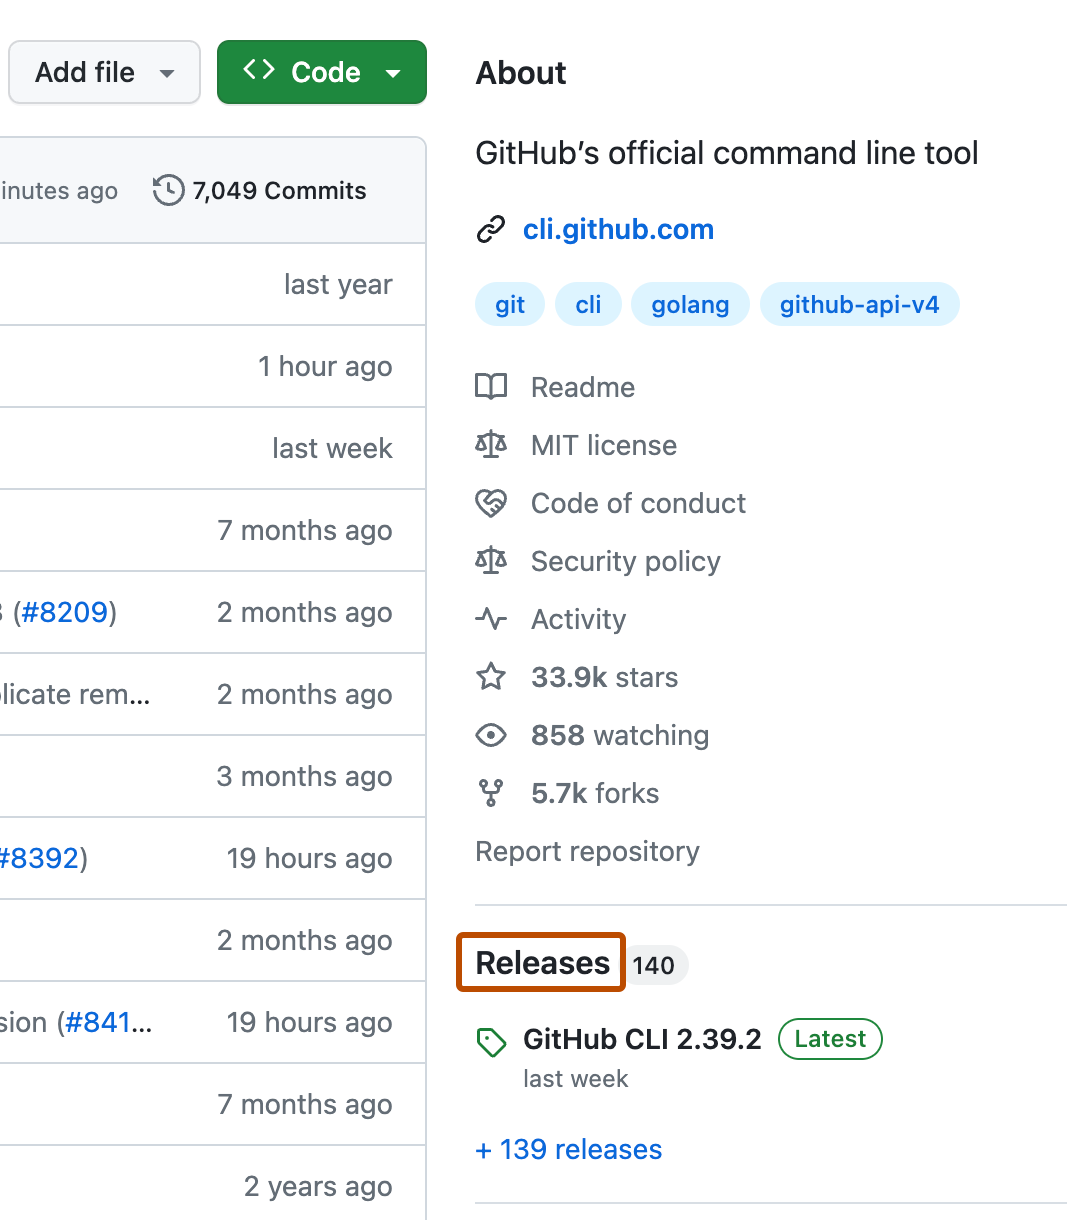
GitHub Releases
What are GitHub Releases?
GitHub Releases allow you to:
- Package and distribute software versions
- Attach binary files and assets
- Create release notes and changelogs
- Tag specific points in your repository history
- Provide stable download links
Perfect for marking milestones and distributing your work!
Why Use Releases?
- Version Control: Clear versioning of your software
- Distribution: Easy way to share stable versions
- Documentation: Release notes explain what changed
- Permanence: Tagged versions remain accessible
Semantic Versioning
The SemVer Standard
Semantic Versioning (SemVer) uses a three-part version number:
MAJOR.MINOR.PATCH
- MAJOR: Breaking changes (incompatible API changes)
- MINOR: New features (backward compatible)
- PATCH: Bug fixes (backward compatible)
SemVer Examples
0.1.0  → Usually the very first release
1.0.0  → Initial full release
1.0.1  → Bug fix
1.1.0  → New feature added
2.0.0  → Breaking change
Pre-release versions:
1.0.0-alpha.1
1.0.0-beta.2
1.0.0-rc.1
When to Increment
| Change Type | Version | Example |
|---|---|---|
| Bug fix | PATCH | 1.0.0 → 1.0.1 |
| New feature | MINOR | 1.0.1 → 1.1.0 |
| Breaking change | MAJOR | 1.1.0 → 2.0.0 |
| Pre-release | Add suffix | 2.0.0-alpha.1 |
Creating GitHub Releases
Step 1: Navigate to Releases
- Go to your GitHub repository
- Click on “Releases” (right sidebar)
- Click “Create a new release”
Step 2: Tag Your Release
### Create and push a tag locally
git tag v0.1.0
git push origin v0.1.0
Or create the tag directly on GitHub:
- Choose “Create new tag”
- Enter tag name (e.g.,
v0.1.0) - Select target branch
Step 3: Release Details
Required fields:
- Tag version: `v0.1.0
- Release title: “Version 0.1.0 - Initial Release”
Optional but recommended:
- Description: Detailed release notes
- Attachments: Binary files, documentation
- Pre-release: Check if this is a pre-release
Step 4: Write Release Notes
Good release notes include:
#### What's New

- Added user authentication system
- Implemented dark mode theme
- New API endpoints for data export

#### Bug Fixes

- Fixed memory leak in background processing
- Resolved CSS styling issues on mobile

#### Breaking Changes

- Changed API response format for /users endpoint
- Removed deprecated `legacy_mode` parameter
Auto-Generated Release Notes
GitHub can automatically generate release notes:
- Click “Generate release notes”
- Reviews pull requests since last release
- Groups changes by type
- Mentions contributors
Great starting point that you can customize!
Reusability vs reproducibility
Having a release created is great for reusability.
- It lets users know what version of the code to expect to be stable
- But you could delete or make the repository private - this isn’t great for reproducibility
- For reproducibility, you will want to ensure your code is archived in a persistent archive, and has a DOI
Download the zipped release archive, and upload to a repository!
Where should you deposit your data?
- Symplectic
- Select the “Software/Code” option when depositing
- University Data Repository
- While not designed for code, there are examples of code deposited here, and they will mint a DOI for you
- Your funder may host or suggest a specific repository
- Zenodo - a research data repository operated by CERN and OpenAIRE
- Offers integration with GitHub
Zenodo Integration
What is Zenodo?
Zenodo is a research data repository that:
- Provides persistent Digital Object Identifiers (DOIs)
- Offers long-term preservation of digital artifacts
- Is free and open access
- Integrates seamlessly with GitHub
- Supports all research outputs
- Built and operated by CERN and OpenAIRE, and hosted on CERN’s Data Centre
Why Mint DOIs?
DOIs make your code:
- Citable in academic papers
- Persistent with permanent links
- Discoverable in research databases
- Versioned with unique identifiers per release
- Professional and research-ready
Setting Up Zenodo Integration
Step 1: Create Zenodo Account
- Go to zenodo.org
- Sign up with your GitHub account
- Authorize Zenodo to access your repositories
Step 2: Enable Repository
- Go to your Zenodo GitHub settings
- Find your repository
- Toggle the switch to “ON”
Adding Zenodo Metadata
We can provide additional metadata to our repository to ensure Zenodo uses the correct information when generating our DOI.
- The
CITATION.cff(Citation File Format) is both human and machine readable, and provides information about how to reference code. - We can generate one using the Citation File Format generator
- Read more about Zenodo CFF integration here
- Adding a
CITATION.cffto your repository will generate a little “Cite this repository” link, providing BibTex and APA citations according to your CFF file content.
Citation File Format
Zenodo provides the following example CITATION.cff:
cff-version: 1.2.0
title: "Memory bus simulation scripts"
version: 1.8.0
license: "MIT"
type: software
abstract: "These are the scripts used to simulate a memory bus"
message: "If you use this software, please cite it as below."
authors:
  - given-names: Josiah
    family-names: Carberry
    affiliation: Brown University
    orcid: "https://orcid.org/0000-0002-1825-0097"
keywords:
  - computer science
  - psychoceramics
  - journaling filesystems
Citation File Format
When you have released your code and minted a DOI on Zenodo, you can add this to your CITATION.cff file too:
cff-version: 1.2.0
title: "Memory bus simulation scripts"
version: 1.8.0
license: "MIT"
type: software
abstract: "These are the scripts used to simulate a memory bus"
message: "If you use this software, please cite it as below."
authors:
  - given-names: Josiah
    family-names: Carberry
    affiliation: Brown University
    orcid: "https://orcid.org/0000-0002-1825-0097"
keywords:
  - computer science
  - psychoceramics
  - journaling filesystems
identifiers:
  - description: This is the collection of archived snapshots of all versions of My Research Software
    type: doi
    value: "10.5281/zenodo.123456"
  - description: This is the archived snapshot of version 0.11.2 of My Research Software
    type: doi
    value: "10.5281/zenodo.123457"
Licensing and Zenodo
Benefits of Licensed Code
- Zenodo requires license information for proper archiving
- Clearer citation guidelines for users
- Better metadata for discovery
- Professional appearance for academic work
Remember: Licensed code = Usable code = Citable code
The Release Process
- Prepare your code
- Complete features
- Update documentation
- Run tests
- Update version numbers
- Follow semantic versioning
- Update package files
- Create release on GitHub
- Tag the version
- Write release notes
- Zenodo automatically
- Archives your release
- Mints a DOI
Best Practices
Version Management
- Use semantic versioning consistently
- Tag releases with
vprefix (v1.0.0) - Keep a CHANGELOG.md file
Release Notes
- Write clear, user-focused descriptions
- Group changes by type (features, fixes, breaking)
- Thank contributors
Zenodo Integration
- Add comprehensive metadata
- Include keywords for discoverability
- Connect your ORCID ID
DOI Badges
Add a DOI badge to your README (use your DOI):
[](https://doi.org/10.5281/zenodo.1234567)This looks like this:
![]()
This helps users cite your work correctly!